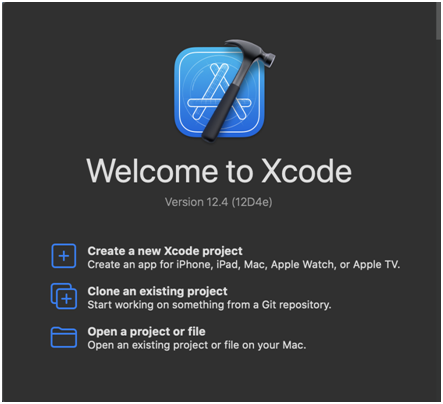
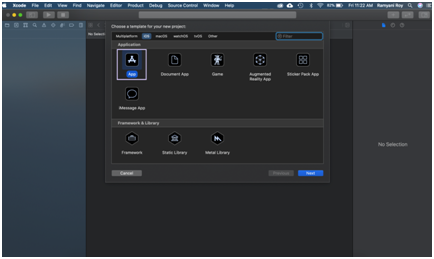
To create your first iOS application, launchn Xcode To create your first iOS application, launchn Xcode from the Launchpad on your Mac. You should see the welcome screen as shown below.
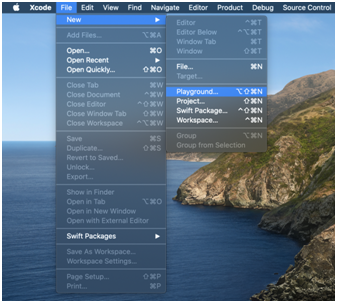
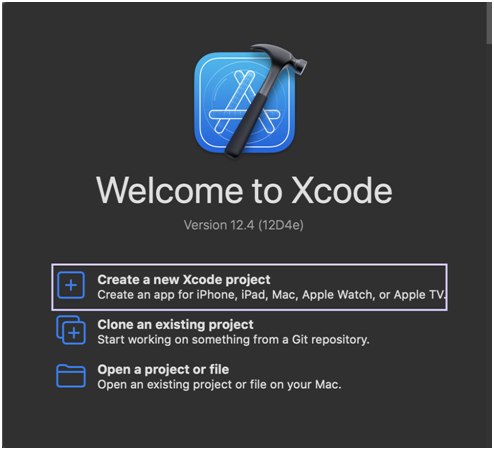
The dialog that pops up allows you to choose a template for your project. For the purposes of this article choose “App” under “Application.”
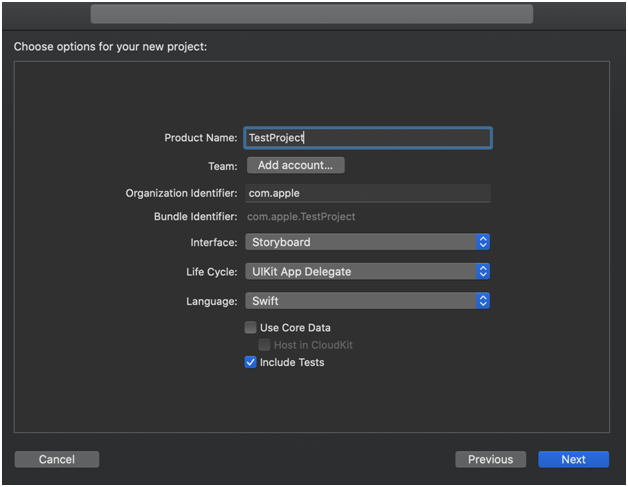
The product name we’ve used here is TestProject, you may pick anything you’d like to identify the project with.
For org. name, use either the name of the company you’re developing the application for or pick an arbitrary name. The organization identifier reads the input in reverse so apple.com is input as com.apple The bundle identifier auto-concatenates the organization identifier and product name. Bundle identifiers are unique and no two applications on the same phone can have identical bundle identifiers. In the language, select the language with which we are planning the development. In this tutorial, we will use Swift as our programming language.
In the canvas, next to the code editor, click Resume to display the preview. If it isn’t visible, go to Editor and click Editor and Canvas to view it. From the left hand side of the window, select ContentView.swift and you can create a simple application to start on this journey!
This is the first screen you see:
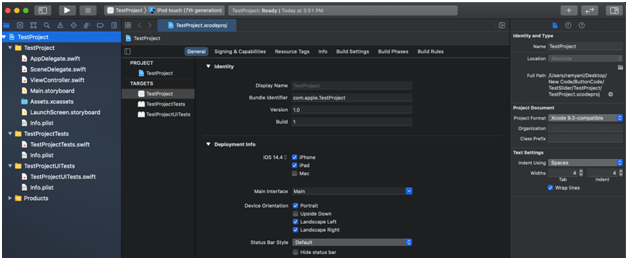
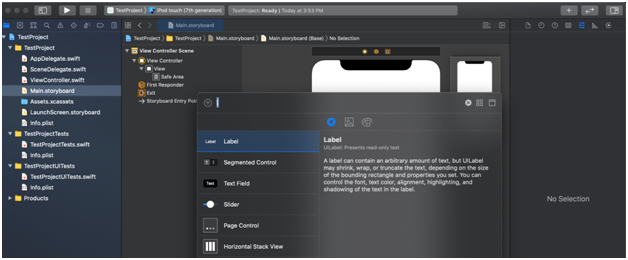
Let’s navigate to the Main.Storyboard on the right and drag and drop a label onto the screen from the media library.
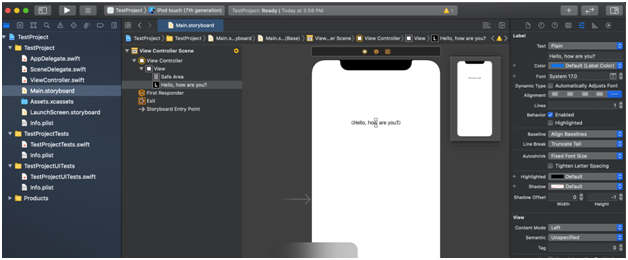
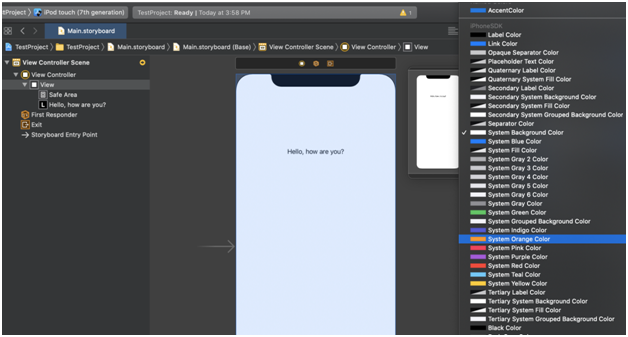
Next we click on “View” on the left and go to it’s attribute inspector. There we can change the background colour to any colour in the dropdown menu.
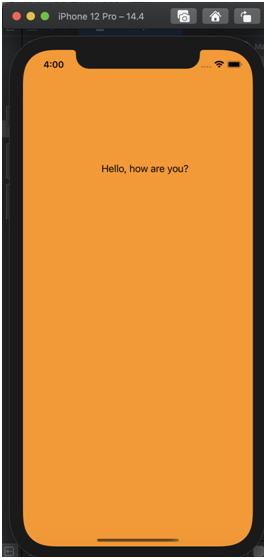
Now, simply press Command+R and the simulator should display your first application as below:
